We changed sheet cutter sensor from LX111 to LX101.
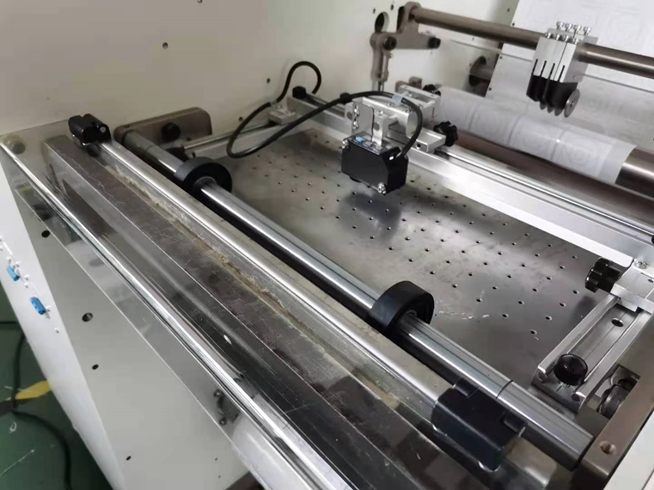
The sheet cutter system is controlled independently.
First, open the cutter online function in the software.
Lift up the cutter feeding roller, pass the paper through the cutter buffer rod – feeding roller – cutting edge in sequence, and press down the cutter feeding roller. Tap the forward key on the screen until the material goes straight.
The placement of the initial position of the machine must be accurate to prevent the material from tilting.
1) Set the positioning sensor
After the material is straight, move the paper feed button at the position to be cut to the position of the knife edge, and calibrate the sensor. Fine-tune the position and lock it.
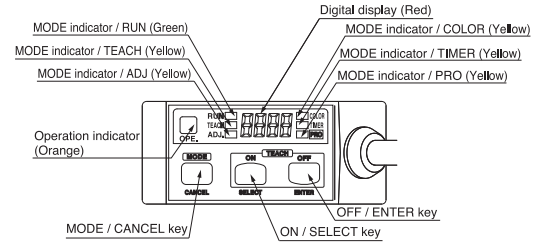
2) Calibrate sensor
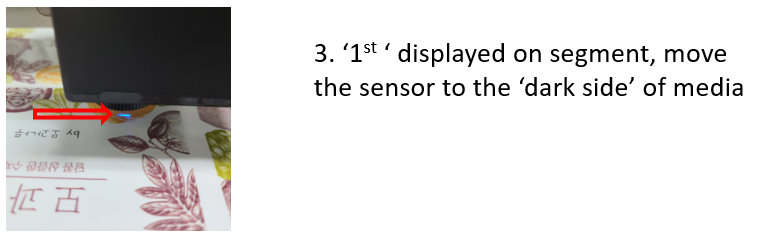
A. When you sense marks
MODE > COLOR > select AUTO
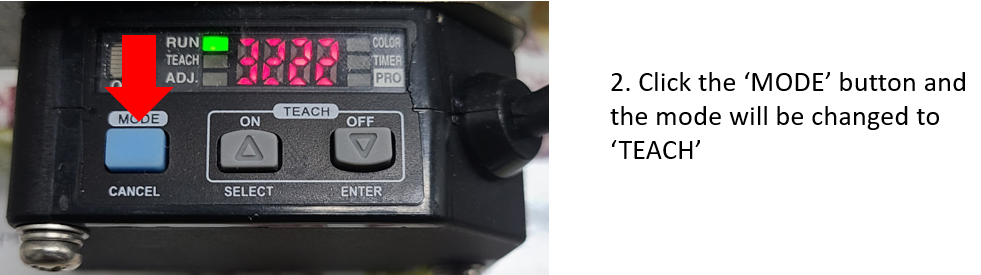
MODE > TEACH
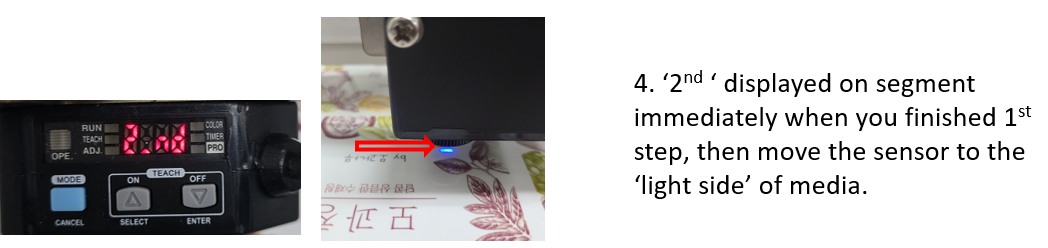
SENSOR ON TARGET > ON
SENSOR ON BLANK > OFF
B. When you sense specific color
MODE > COLOR > select COLOR
MODE > TEACH
SENSOR ON TARGET > ON
Please refer to details from below linked video.
3) Operation
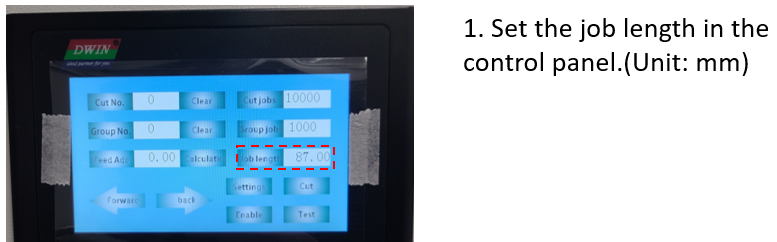
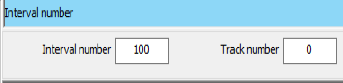
Put the proper ‘Job length’ value and ‘Mark size’ value in the control panel.
Choose ‘LO’ and ‘HA’ in settings and ‘Click ‘Enable’ button and cutter starts immediately.
Check the result and adjust the start point.
![DUOBLADE WX [TIPS] : When you want max. speed of cutting?](https://valloy.com/wp-content/uploads/2024/01/268f644429ce4db2ece8e2f7a2858835-500x383.png)
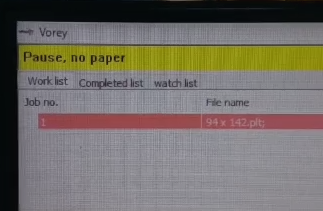
![DUOBLADE WX [Tips] : What is “PAUSE, NO PAPER” error?](https://valloy.com/wp-content/uploads/2024/01/2f83a1507cc9626eab2d78936121c170-500x383.png)
![DUOBLADE WX [Tips] : Media loss at starting and roll changing](https://valloy.com/wp-content/uploads/2024/01/99438afb5e9d6d530bc2cd4609ed791b-500x383.png)
![DUOBLADE WX [Tips] : Interval no. vs Track no.](https://valloy.com/wp-content/uploads/2024/01/6394dee19b914e6b3b6f7fbf65d4c224-500x383.png)
